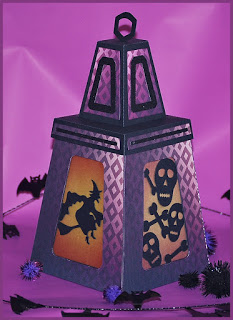
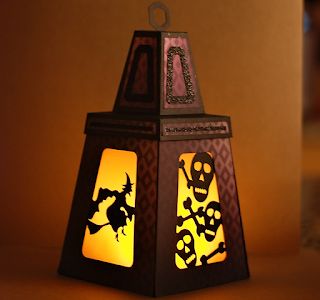
Today, we have Mike from DeZinesbyEM, who is our guest designer this week! He created the Spider and Skulls Halloween Lantern. The top comes off and you can put in an electronic battery powered tea light. If you go to his blog, he kindly created a video showing how he customized the lantern in Silhouette Studio, as he added a witch to a panel And he printed his own color vellum.
Mike Fernholz , Guest Designer for Simply Crafty SVGs
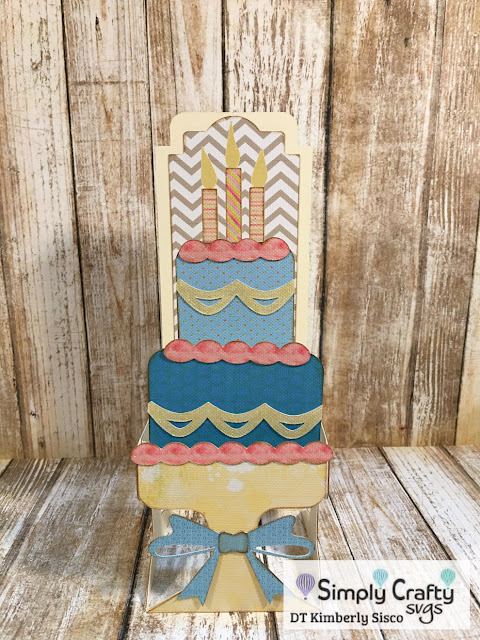
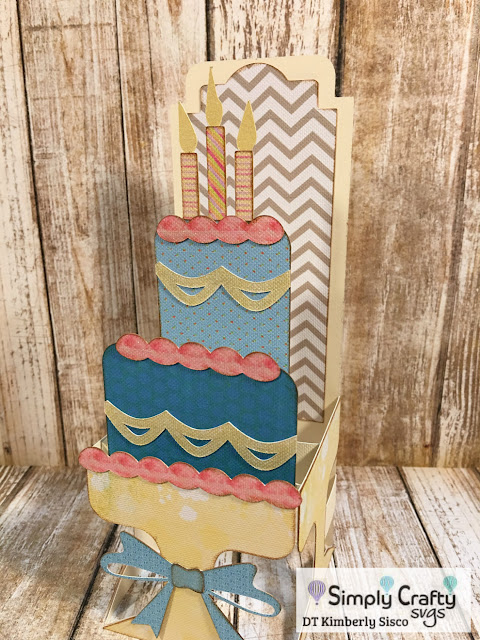
Hello Crafters! It is my pleasure to share my Simply Crafty SVGS Design Team project with you. I chose the Tiered Cake Box Card because I absolutely love creating cards. This box card is versatile and could be used for many occasions, such as, birthdays, weddings, and baby showers. I will be using mine as a birthday card. You can find the SVG here: I followed the instructions for this project which are included with all the Simply Crafty SVGS and the instructions come as a PDF format which can be printed. This box card came together rather quickly.
Below the pictures is an assembly process video where I show how I assembled my project. I used Cricut Design Space and my Cricut Explore to cut out my images.
I took full advantage of the print then cut feature in Cricut Design Space for all my patterned images. I inked the edges of all the images with Distress Ink Vintage Photo to create more texture and depth.
So excited. I was asked to be a guest designer over at Simply Crafty SVGs and also on facebook at Simply Crafty SVGs. What a great honor. I love the files that this site has and the owner Sandy is a fabulous designer. Her design team is top notch. Their examples with Simply Crafty SVGs 3D files are beautiful. Please go on over and say hello and look around.
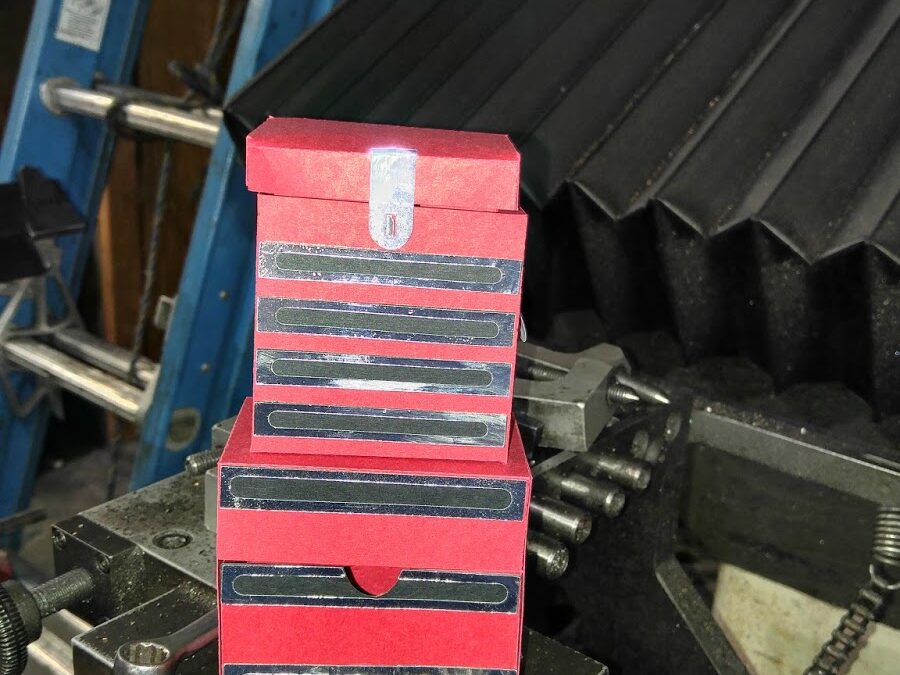
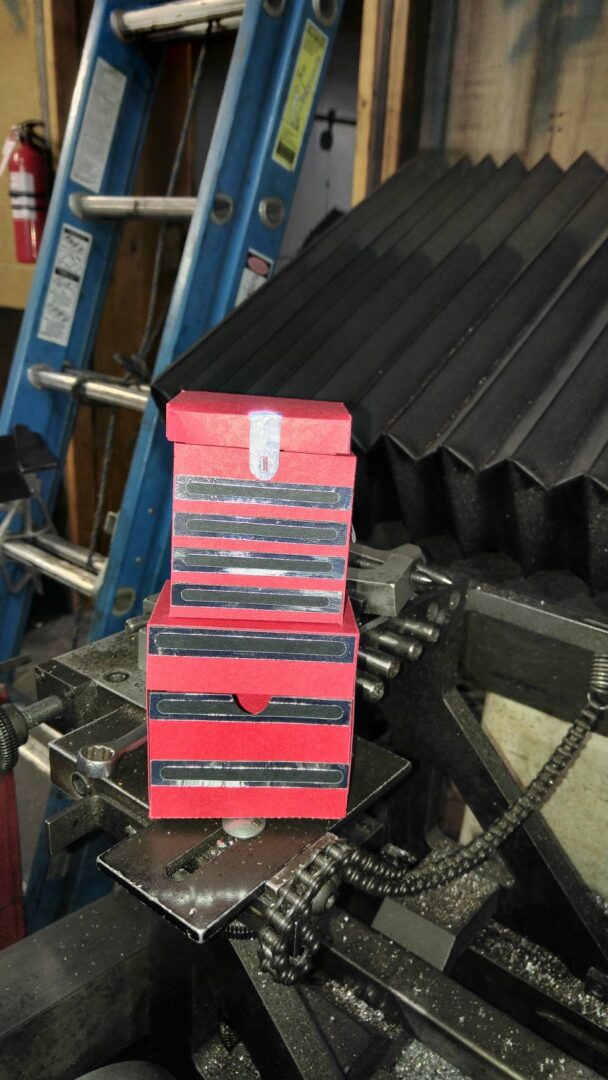
So for my project I wanted to make something for Bobs birthday which is in a couple of weeks. Bob is a machinist. We own a machine shop and he is in high demand. So the file I chose is a 3D Tool Box. It looks just like the 4 that we have in the shop. This one is able to be filled with what ever you want. It has a top section and a lower section. I used standard cardstock and my ATG gun. I think I will go to a candy store and look around. Might be able to put some saltwater taffy in the bottom. So here is how my Simply Crafty SVGs 3D Tool Box Turned out.
Jana Forrest, Guest Designer for Simply Crafty SVGs
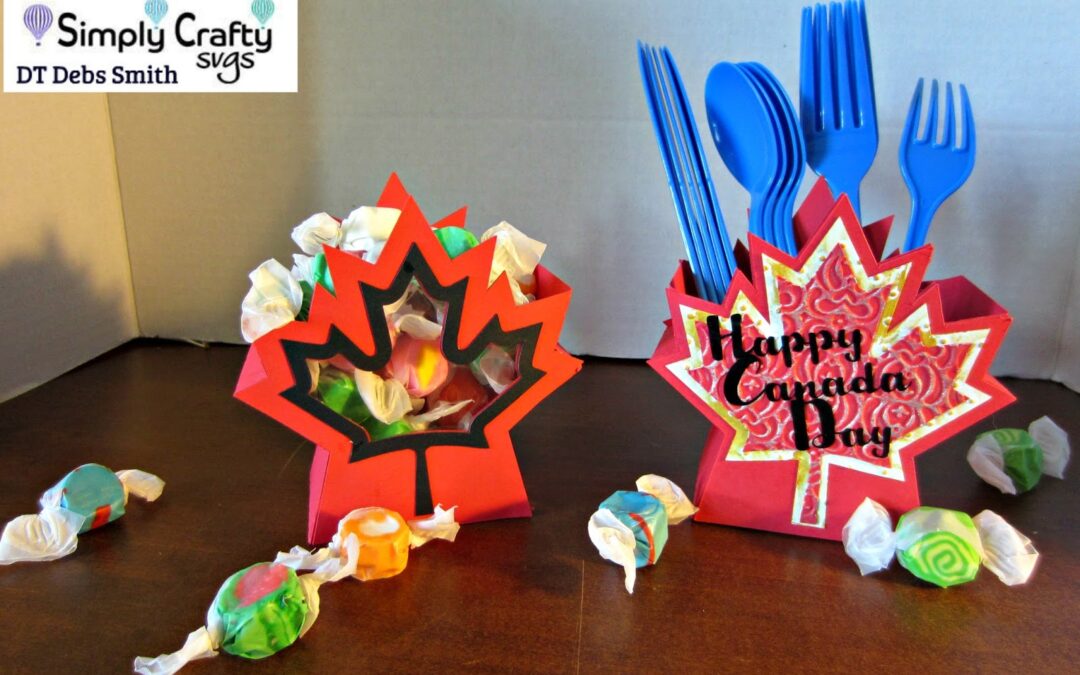
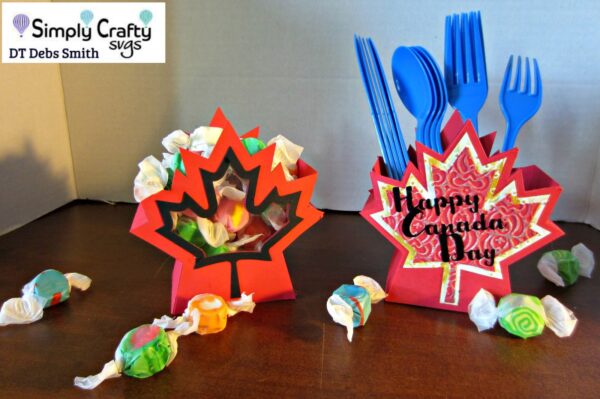
Hope everyone had a great weekend!!! Can you believe next weekend Canada celebrates 150 years old. Simply Crafty SVGs has these great boxes, Canada Day Box and Lantern and they are so easy to make I embossed the leaves and added Inca gold to make it pop. For the candy box I used transparent plastic, you could also use Vellum, that way when the candy is gone it can double as a lantern ( designed to be a lantern). These will be a great addition for every Canada Day Party!
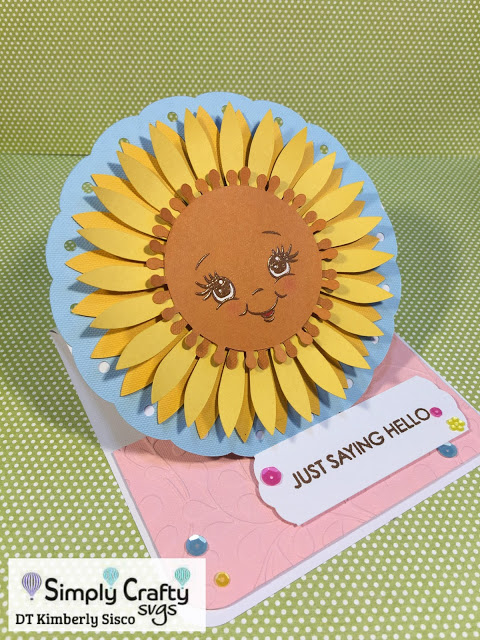
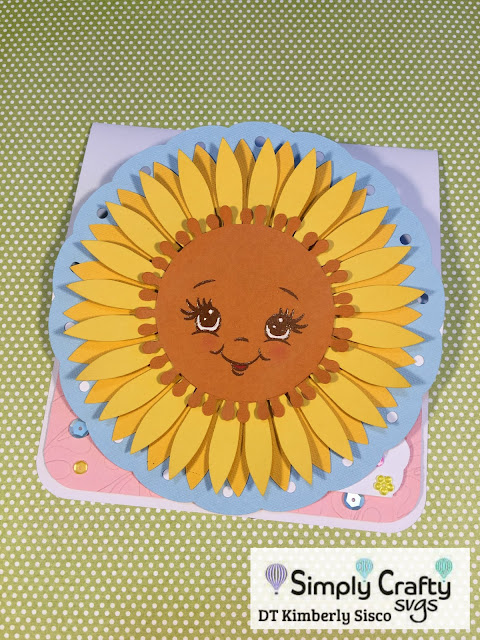
Hello Friends! Thank you for stopping by today. I am excited to share with you my first design team project for Simply Crafty SVGS. Today I am sharing this amazing Sunflower Card. I fell in love with this card as soon as I saw it and knew I wanted to create two different cards for you to show how versatile these cut files are. I created my cards in Cricut Design Space but these files can be used with any electric die cutting machine. First, I want to share the portrait card that is included in the svg file.
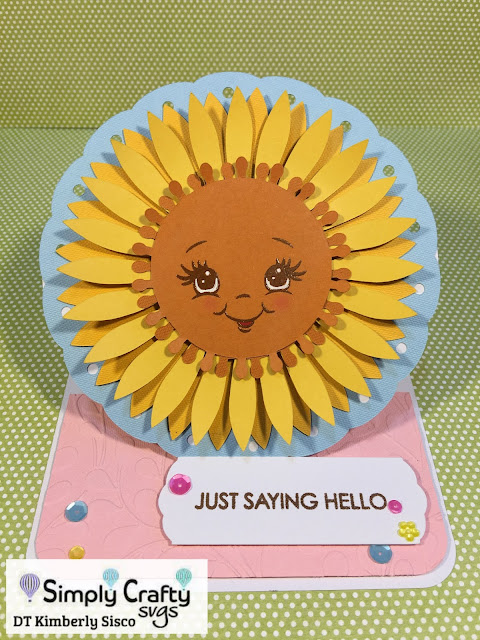
This is an arched portrait card that measures 5″ x 7″. I love all the dimension the sunflower has. I used an embossing folder on the pink panel and added some copper glitter glue to the center of my flower. Next, I created an easel card and I did this by using the card base of the portrait card. These SVG files are very versatile, as I said.
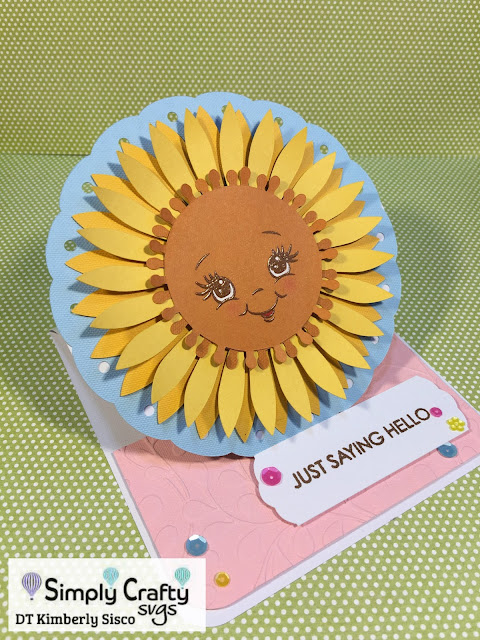
This card just makes me smile! I love her sweet face. I used a Peachy Keen stamp to create her face. If you would like a video tutorial on how I created these cards in Cricut Design Space, please, leave me a comment. If you have any questions, please, let me know.
Here is a process video on how I assembled these cards or watch Here
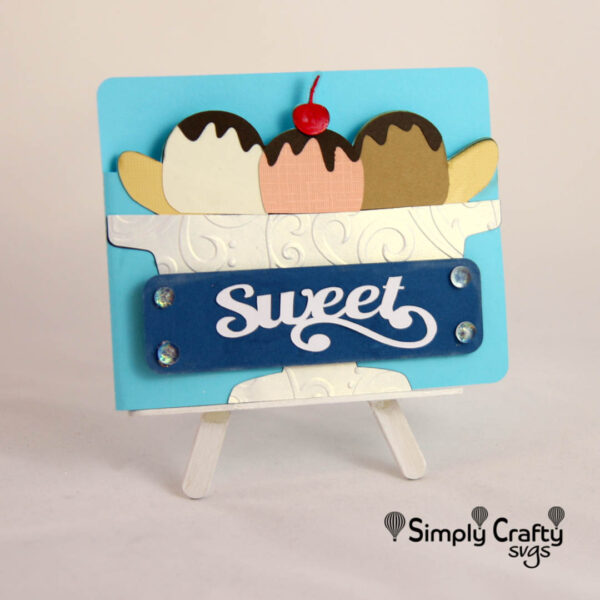
It is time for another freebie. It is our Banana Split Card with an optional gift card insert. Finished card is 5.5″ x 4.25″ and fits into an A2 envelope.
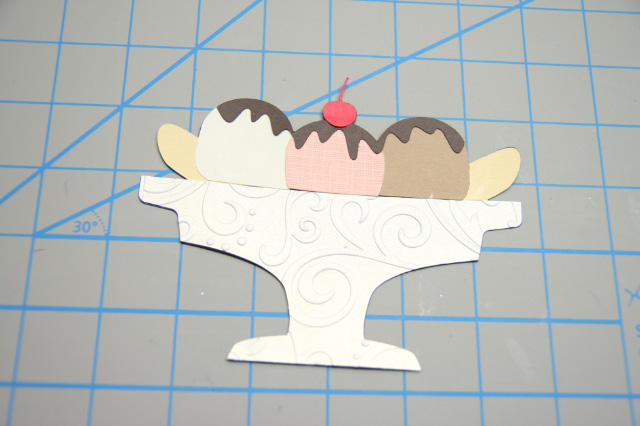
NOTE: The file does not include the “Sweet” sentiment, only the blank rectangular word frame. This goes together quick, if you need to make a fast birthday card! Just piece together the banana split.
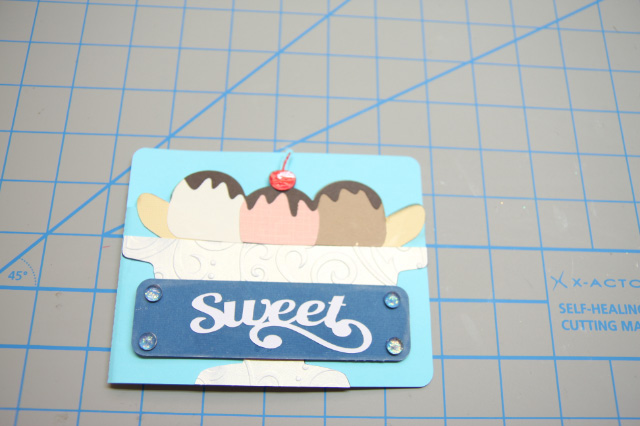
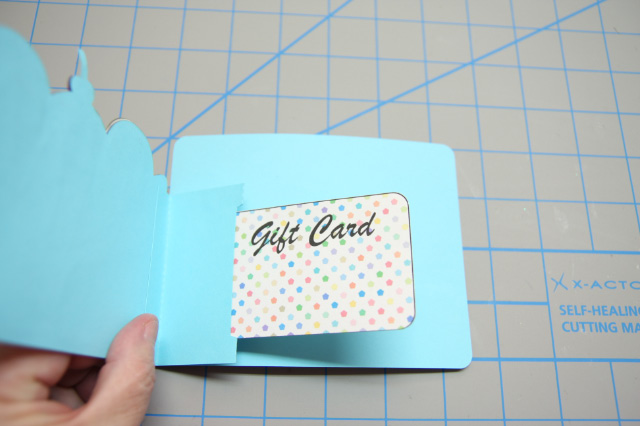
Add it to the shaped portion of the card. Add the word frame with your chosen sentiment. In this case, I used a Cricut Design Space “Sweet” image to complete. As noted, this is not included in the file. Then add the attach the optional gift card holder inside for a special gift.