You need some cardstock and/or paper for the panels.
Twine, cord or string to hold lights
Cardstock Used:
American Crafts (AC) Textured Cardstock 12 x 12 inch for the box and sockets. More information on what size paper you can use can be found on the Christmas Light Bulb Box SVG Product Details.
After purchasing the file, download, unzip and upload the SVG files to your cutting software like Cricut Design Space or Silhouette Studio Designer Edition. Help is readily available on our SVG Cutting Help Page.
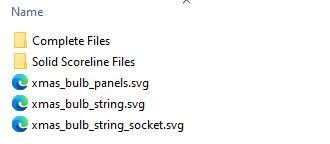
After Unzipping the file, the files you need are located within SVG Files folder under the String Version folder.
Upload/Import the SVG Files to your Cricut Design Space, Silhouette Studio Designer Edition or other cutting machine software.
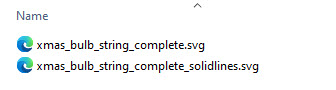
I recommend uploading/importing the complete file version, found under the Complete Files folder. The xmas_bulb_string_complete.svg has perforated/dashed scorelines that cut. If you want to use a score tool or score wheel, you would use the solidlines version. It is just harder to fold. For Silhouette users, I recommend the xmas_bulb_string_complete.svg.
If you are using Cricut Design Space, make sure you prep the scorelines. If using the perforated scorelines, attach the scorelines. If using the solidline versions, change the lines to score and attach the scorelines. Reference Cricut Help if you are unsure how to do this.
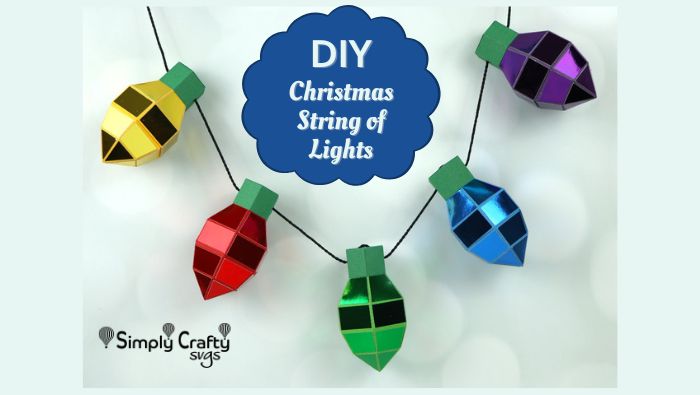
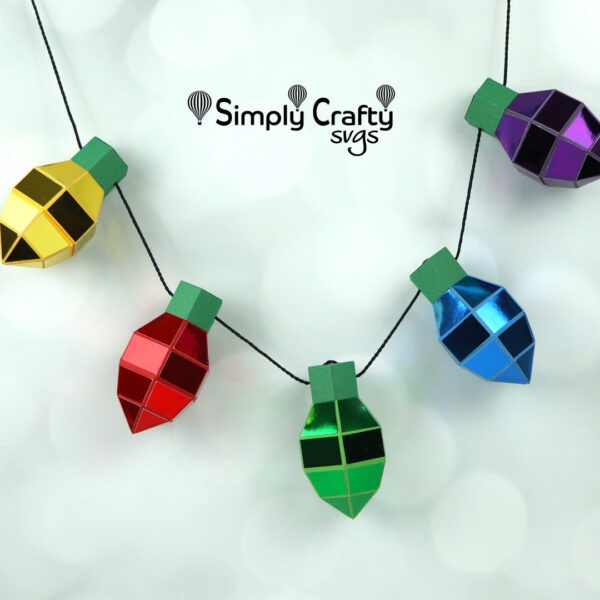
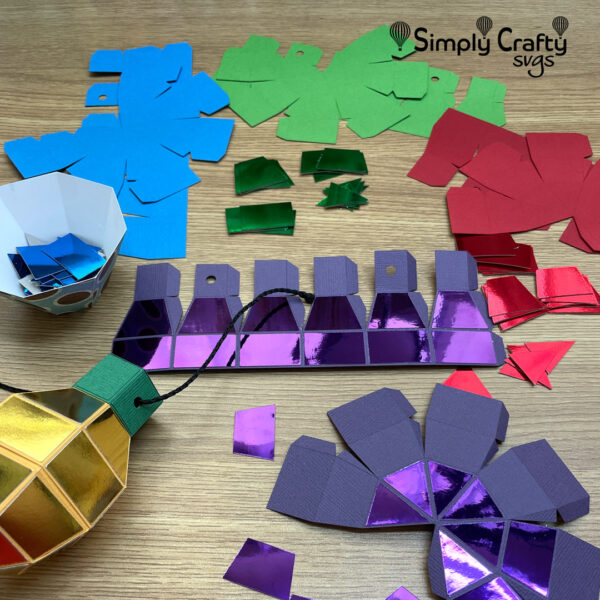
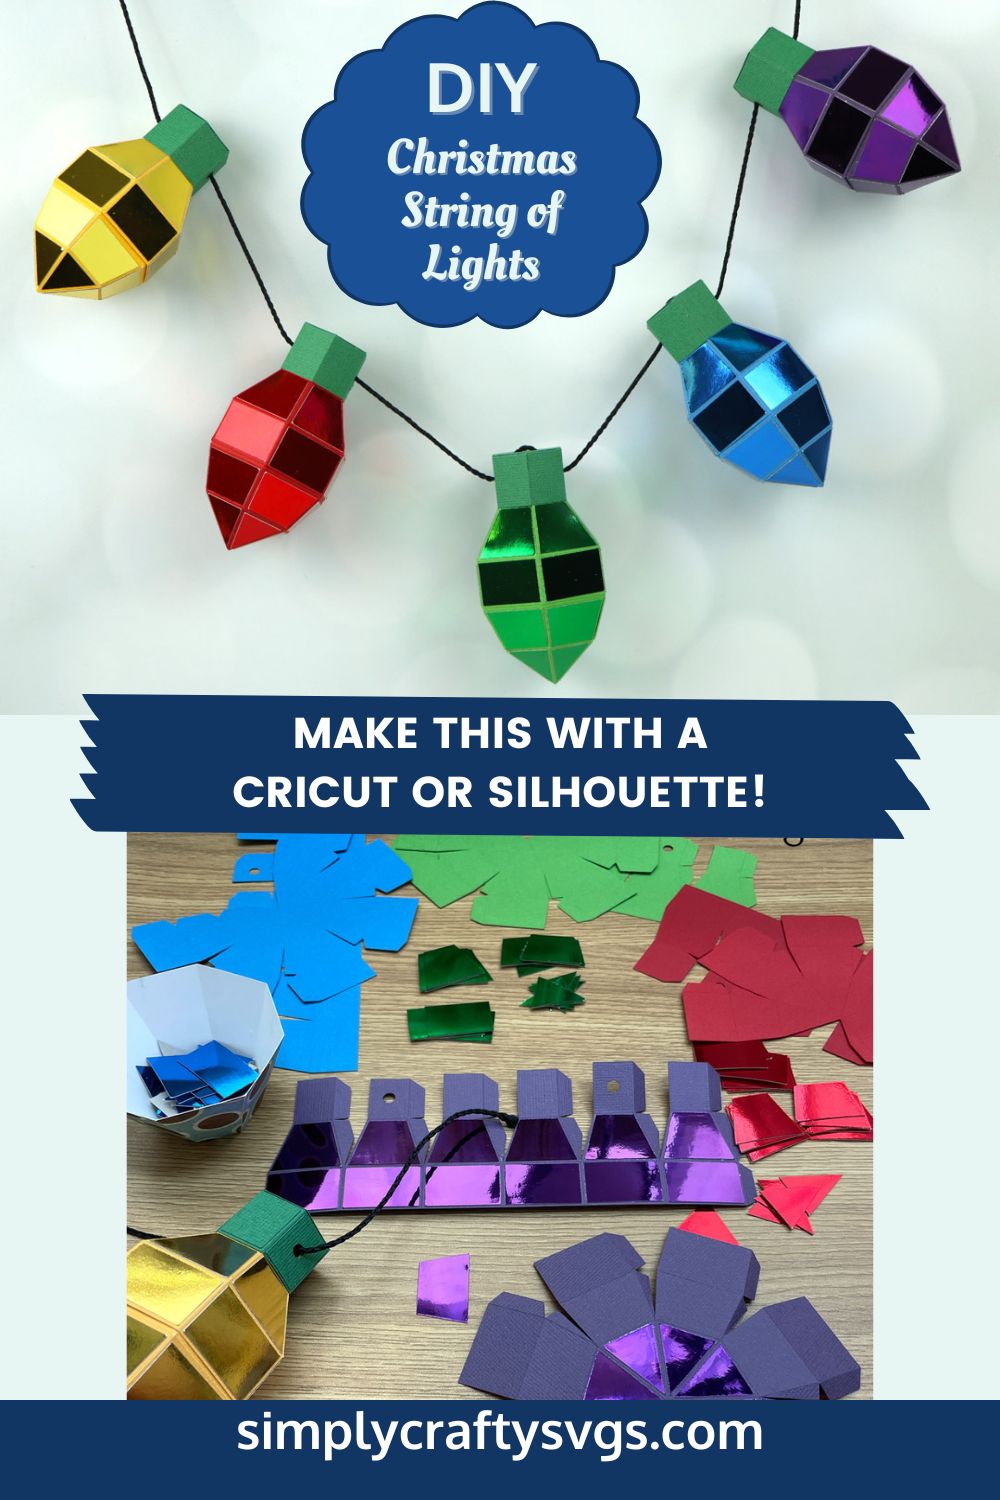
Cutout all the pieces for the string. I made 5 different color lights and a 4 foot length of cording.
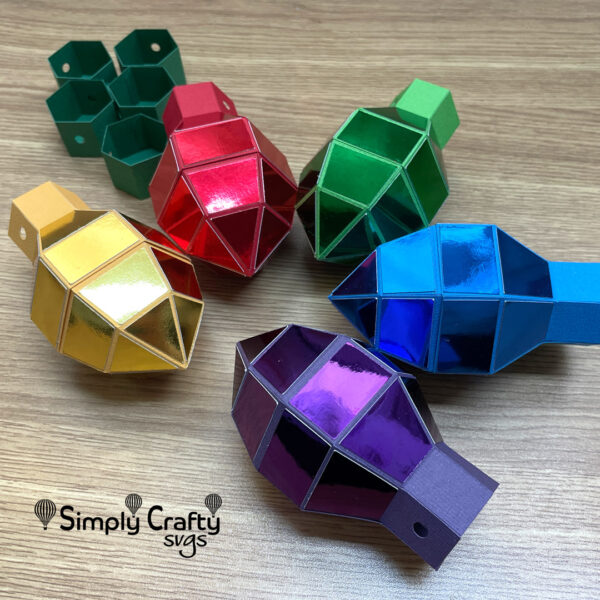
Watch our Christmas Light Bulb Box Assembly tutorial on assembling the box. Make sure you are using the box that has holes and not the box without holes. The video shows how to assemble the box version. They are identical except for the holes in the top of box and sides/top of socket. These are the finished bulbs before stringing.
The instructions to string the lights starts about 27 minutes into the video. The video only explains how to string one light, but then you can add more to create the string. String as many as you want. Just make sure you have enough string/cord to hold them all!
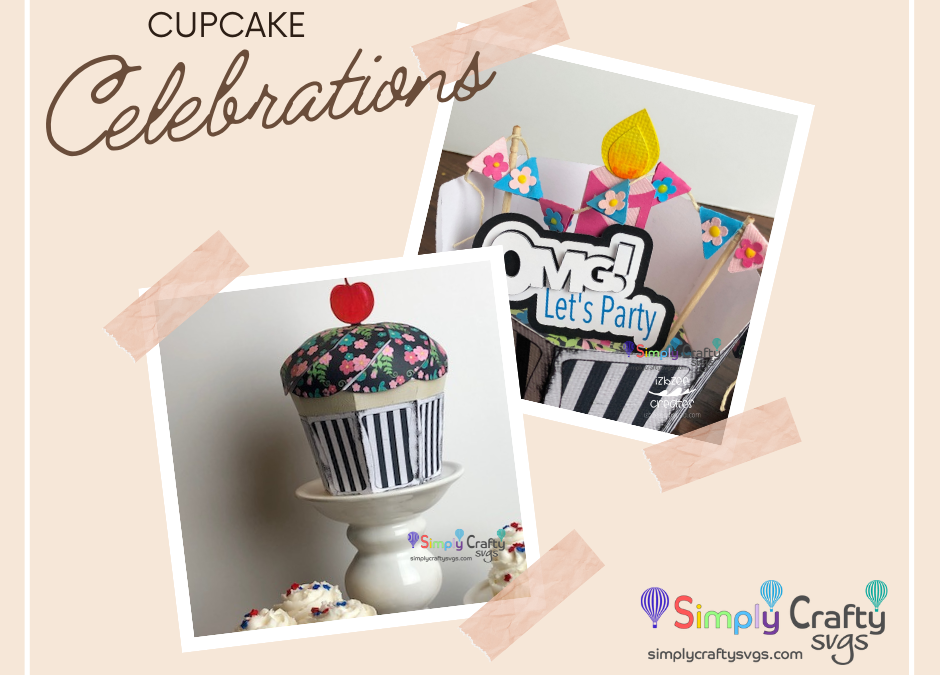
There’s always a reason to celebrate and choosing a fun box to get things started is always a welcome sight!
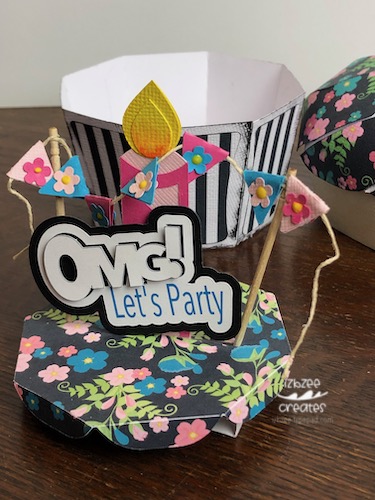
The cupcake box from Simply Crafty SVGs is always a hit! And this one is no different. Jan has used the Cupcake file, and elements from: Milkshake, Vintage Camper, Cupcake Center Panel Card and Cupcake Stand files to complete this one-of-a-kind cupcake for an upcoming celebration.
Mix up some fun patterned papers; cut, ink and assemble the cupcake for your upcoming celebration using the swirl top pieces and panels. Add the cherry from the Milkshake Box file to top the cupcake box.
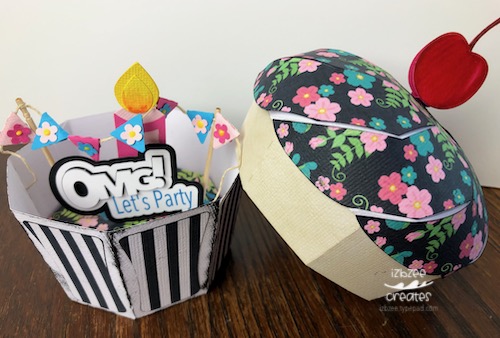
Lift the lid…
There’s always a reason to celebrate – inside the lid of the Cupcake
and there’s a party inside! The platform in the bottom of the box consists of the panel from the Cupcake stand file. Jan scored the scalloped edge to fold down. She cut a slit in the center and placed this piece on a piece of cardstock scored and folded to create a rectangle open-sided box. Attach the elements directly through the slit of the panel to the rectangle below. Aren’t these fun additions?
There’s always a reason to celebrate – lift out the platform
The candle is from the Cupcake Center Panel Card and the flags for the banner are from the Vintage Camper file.
Take a peek at the files you have in your stash and it’s likely you’ll have some options for details you may not have considered previously. It’s always fun to play!
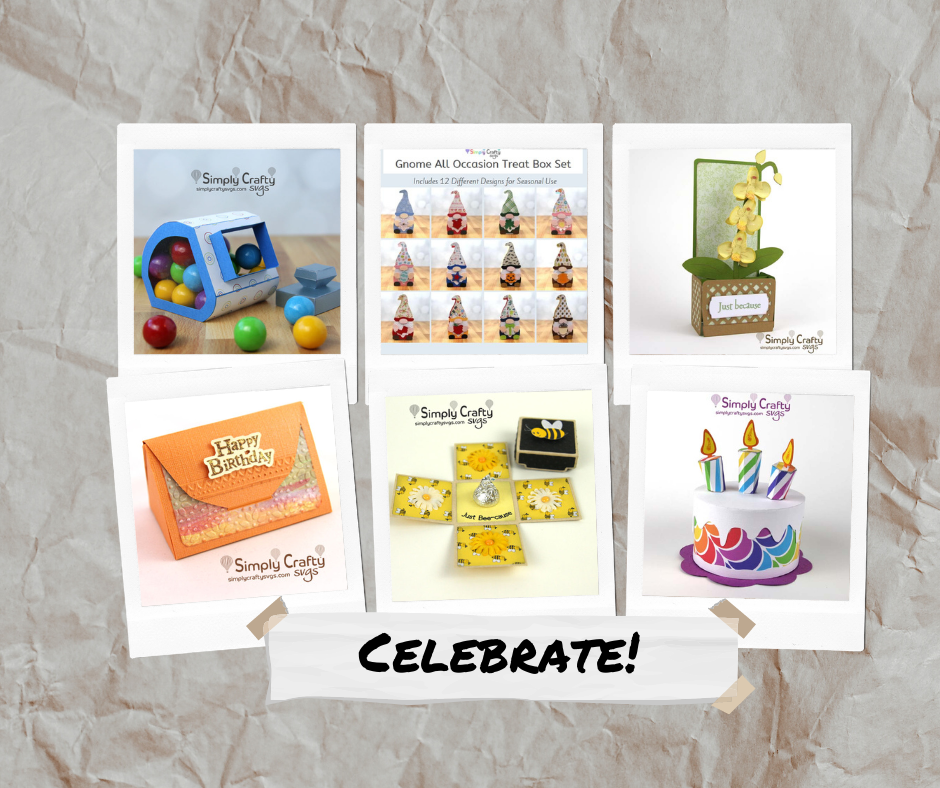
Need a few additional ideas? There’s always a reason to celebrate!
Peek at these:
There’s always a reason to celebrate – SimplyCraftySVGs
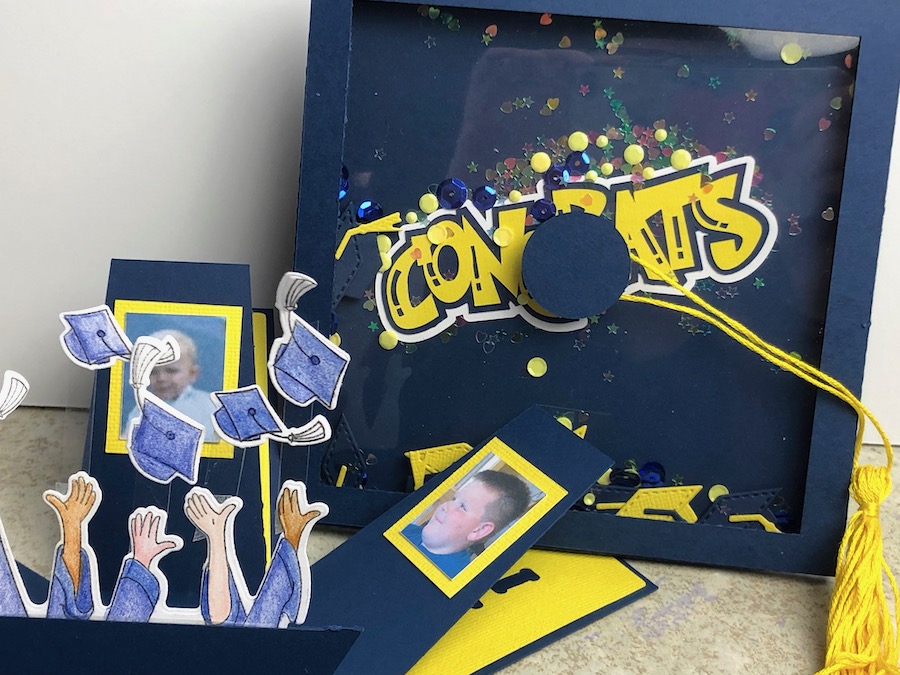
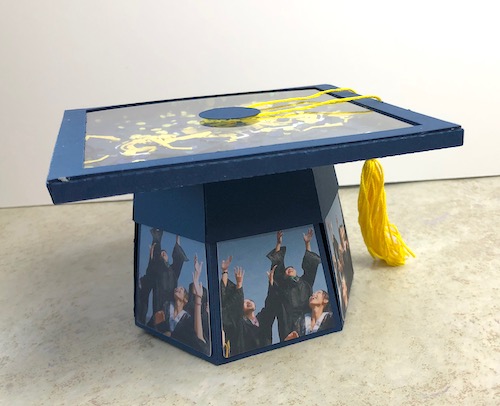
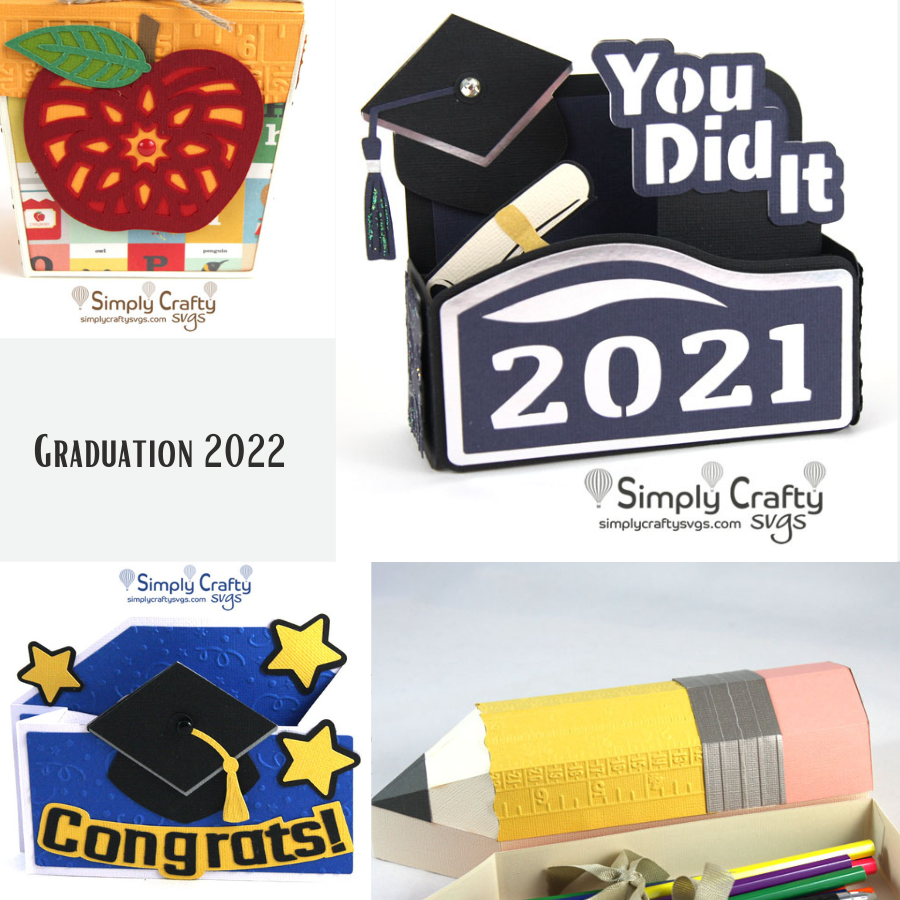
It’s that season of the year. Graduation time! And what would be more fun than creating an explosion box with a little bit of an upgrade for your favorite grads! Jan used the Graduation Explosion Box SVG and added a few additions to it. Take a peek:
The upgrades? She changed the mortar board top into a shaker box, filled with all sorts of sprinkles and die cuts.
Jan then created an extra layer of flaps for some additional options (adding pictures and sentiments (not all shown) and then using the Gift Card holder that comes with the file, she used stamps and transparent inserts as a “pop-up” for the central focal point once the box lid is lifted off. Jan will have more info about the “upgrades” on her blog.
Play with school colors, add images from the year and a few other details that will make this a one-of-a-kind gift never to be forgotten for your special grad this year.
Need some other options if an explosion box upgrade isn’t your first pick? Check out these ideas:
Graduation SVG files
Lots of options and different ways you make them perfect for this year’s gift to your favorite grad! You’ll find these and more here. Be sure to post your Simply Crafty SVG makes and share them with us on our Facebook Creator’s page. You’ll find it here. If you’re posting to other social media, be sure to tag us! #simplycraftysvgs!
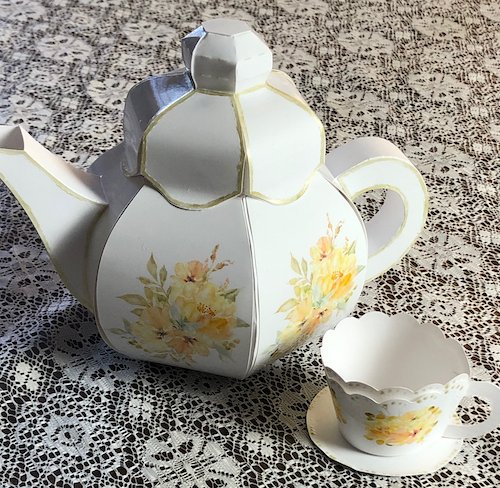
If you haven’t made this teapot, the Round Teapot is the perfect centerpiece of a fun tablescape to host a Spring themed tea party or Mother’s Day tea. Jan is sharing her version with us today. Then, be sure to add a couple of cute cups made using the Lots of Hearts Treat Cup.
The cup handles are from the round teapot file and are sized down to fit the cup. Be sure to add some saucers and several trays filled with goodies. You’re now ready to spend a lovely afternoon or evening with Mom and a few friends
Spring Tea Party – Round Teapot
The printed panels of the teapot and the cups are made using glossy photo paper. Jan wanted the teapot and cups to have a porcelain look. The top of the lid was also made using the photo paper. Add a bit of gold leaf or using a liner paint brush and paint a little gold on the panels for some additional highlights and trim. For more details, check out Jan’s blog.
BONUS!
…And since the teapot is a box, you can add some special goodies as a going home gift for your special guest.
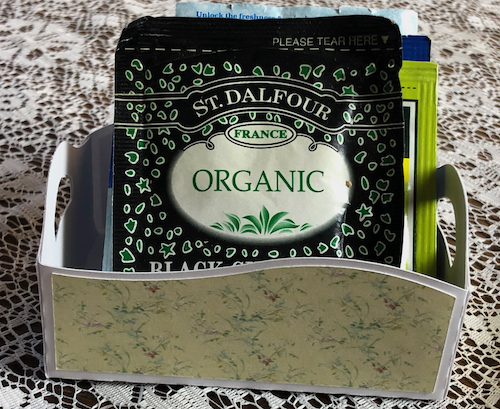
Tea Party Treats?
The large and small trays are from the Serving Trays file. Jan found a printable miniature dollhouse wallpaper to use for the panels. The trays are a perfect addition to your first Spring Tea Party. Don’t forget your favorite teas or drink mix packets.
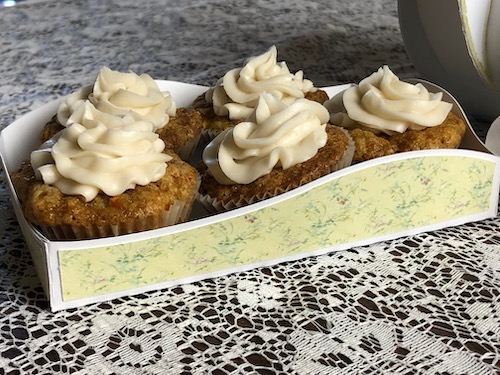
Spring Tea Party, – Small Serving TraySpring Tea Party – Large Serving Tray
The larger tray can be filled with a few mini cupcakes, cake balls, bitesize cookies or other treats in your favorite Spring flavor.
Looking for some additional ideas?
If you create a table scape or gift using one of the files for a fun Spring Tea Party, be sure to share with us on the Simply Crafty SVGs Creator Group (here).
Create a whole different twist to the Easter Egg Box by adding a few fun details to the outside and inside of the Easter Egg Box file. It’s always fun to change things up a bit.
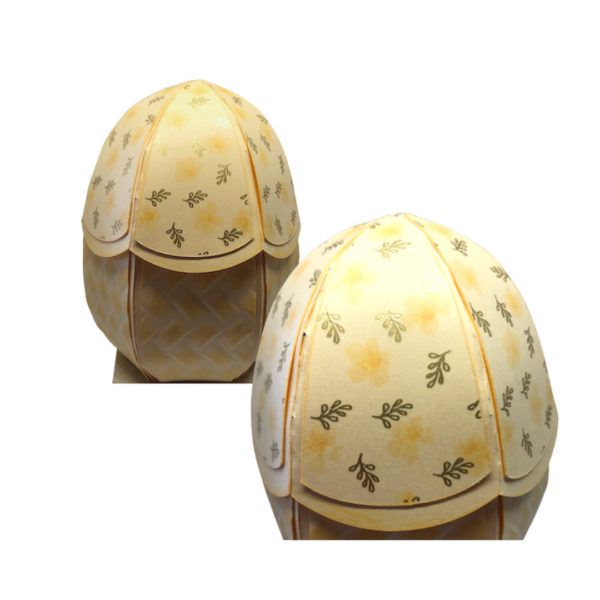
Once cut, the Easter Egg box is a very quick to assemble. The box panels are cut from the same color as the box base, the added details include foiled leaves (from FunLurn.com) and the flowers on the upper panels are made using some ink and a cotton swab. The two colors of the ink, create a soft, subtle look and the finished pattern almost looks like purchased printed paper. Bonus: It only takes a few minutes to add those flowers to the panels.
Easter egg panels with foiling
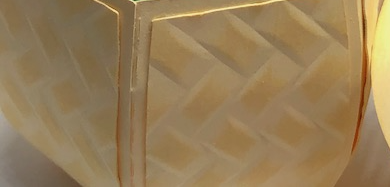
For the bottom panels, Jan used a basket weave embossing folder… and swipe the raised areas with the darker of the two inks used for the flowers on the upper panels. Lightly ink the edges of the panels before adding them to the egg base. Choose any pattern to decorate the panels…. That’s half the fun!
bottom embossed panels
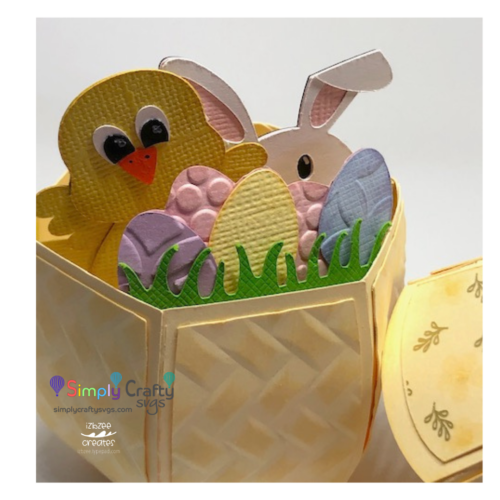
For the inserts on the inside of the egg, the grass, eggs, chick and bunny were resized to fit inside the egg. Measure the egg bottom opening from side to side to determine fit. Elements and placement will determine the size and height. Adhere them as desired on strips of cardstock and attach the strip to the inside of the egg box bottom with glue or strong tape.
There are so many different ways you can decorate the Easter Egg Box, inside and out!
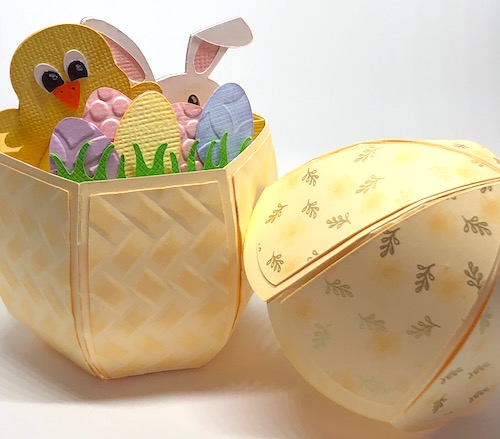
Easter Egg Box finished
If desired, add some “grass” and a few jellybeans or chocolate in the back of the egg bottom. Add the top and your Easter Egg box is ready for gifting! Additional details for this project can be found on Jan’s blog. Besides the Easter Egg Box, there are several other products you might be interested in.
Additional product ideas
For a full list of Easter themed products, click here. And for additional ideas from other crafters, check out the blog!