
Here are 5 Fun and Easy Ways To Use Embossing folders. I love how a quick use of an embossing folder can make your card or 3D project pop! These are not new tips, but these are the ways we like to use them. Perhaps some will be new to you!
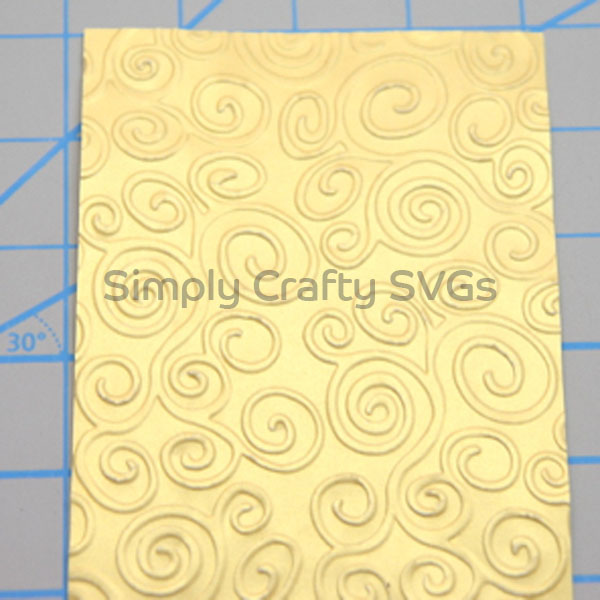
Emboss it!
Using the embossing folder traditionally adds texture to a plain piece of paper to jazz it up quickly. It can take a plain background to a “fandancy” background!
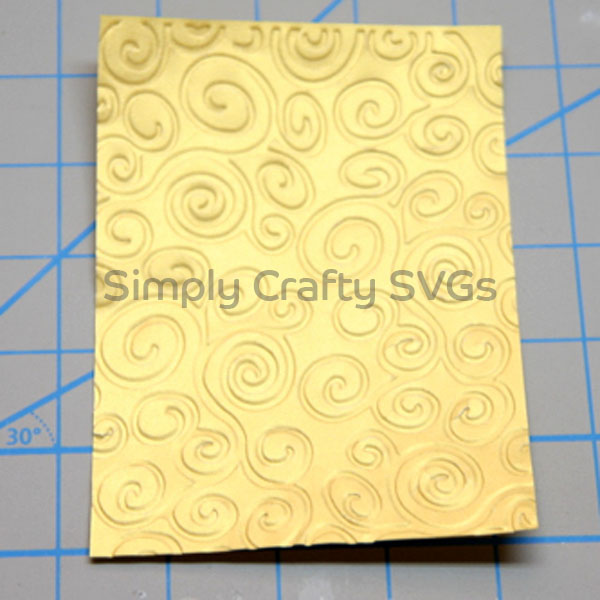
De-Emboss it!
Use the de-embossed side instead of the raised embossed side. Just turn the embossing folder over and instead of a raised design, you will have a inset design and opposite features embossed.
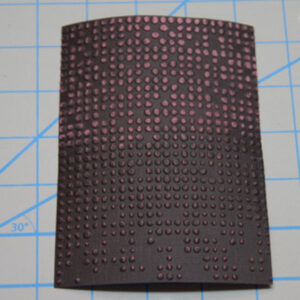
Sand it!
Accentuate the embossed portions of the designs by sanding the embossed portions. This can we done with light sand paper (look up grit) or craft sandpaper. If you have white core cardstock, the design will pop. It is a fun technique to use with Core’dinations cardstock too! Below, I sanded only the top portions to show the difference.

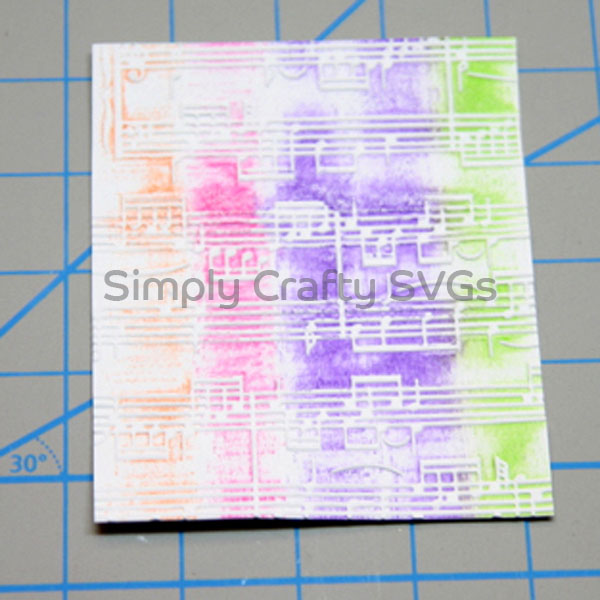
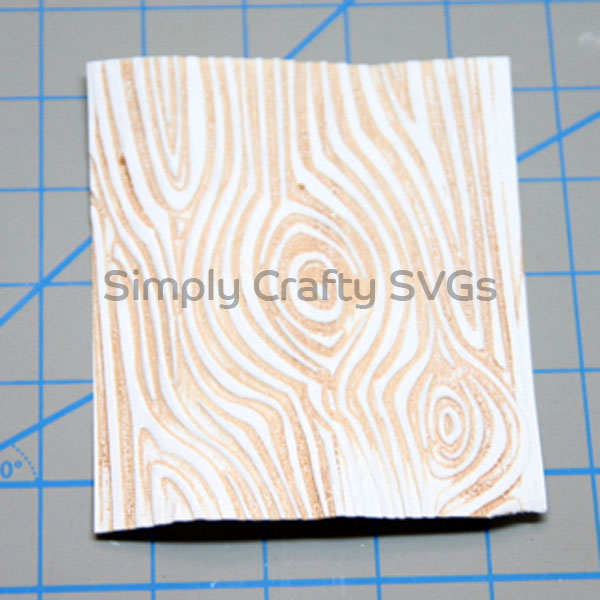
Use Ink!
Just dab an ink pad on the top portion of the embossing folder before embossing. Insert paper and run the folder through your embossing machine. This will give it a cool effect, as most everything but the embossed portion will have the ink color. Try inking the back side too to see how the de-embossed version comes out. Sometimes, it just gives you a entirely different look!
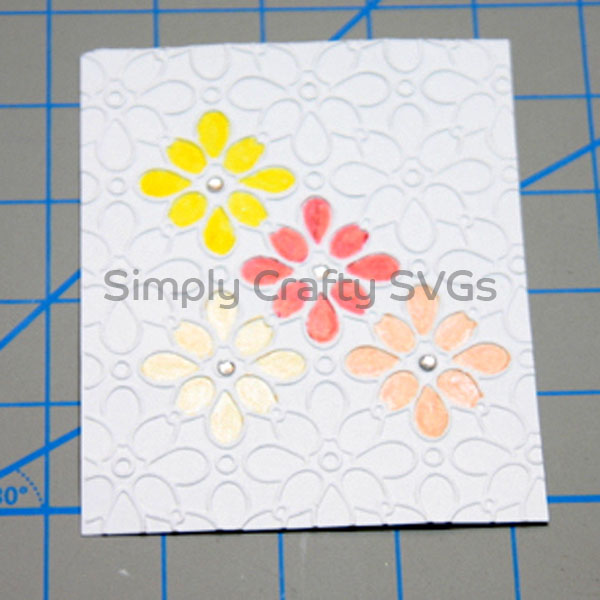
Embellish It!
Decorate embossed paper using raised elements or with pens. Use embellishments, such as jewels, to compliment embossed pattern. Or use pen to color in portion of a design. On this, I used Smooch to color in portions of pattern and also added I-Rock gems.
The limits are really your imagination and scrapbooking supplies. Most of us have a lot.
Have Fun!